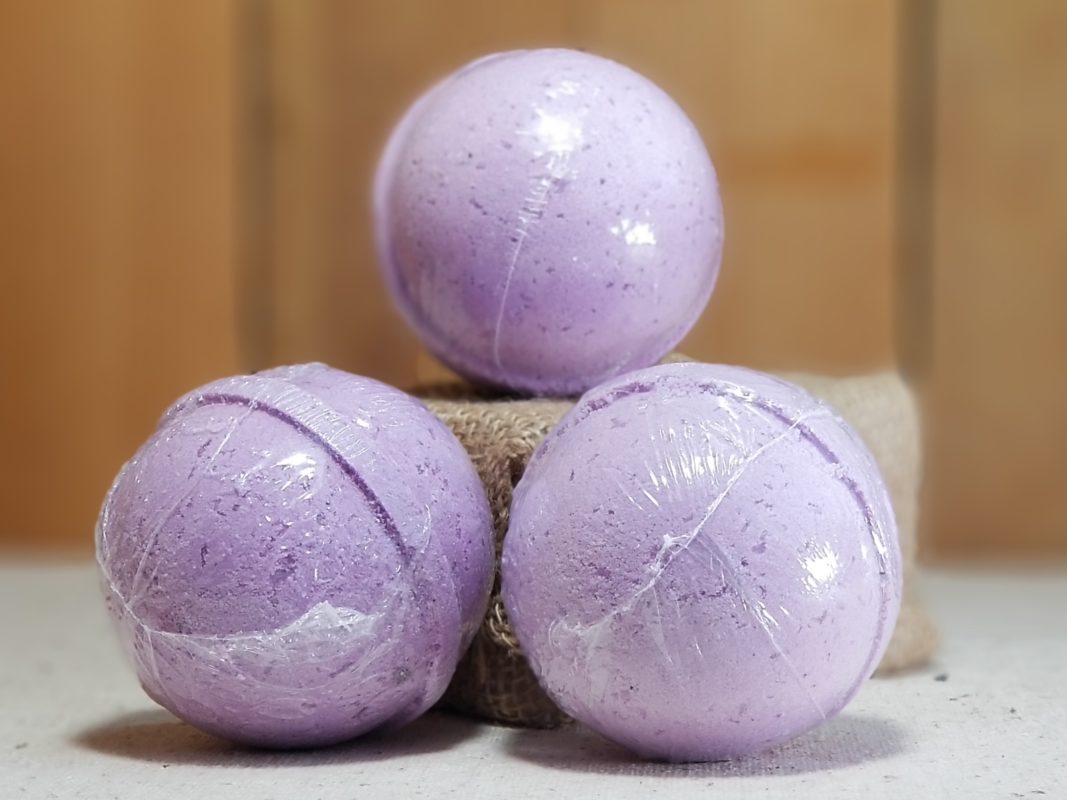
You see them on social media whenever people are taking a bath, bath bombs have exploded onto the scene thanks to stores such as Lush and independent business making scents which will make your bathroom smell beautiful and your bath a gorgeous colour worthy of taking a picture.
What if we told you there was a way that you could make your very own bath bombs from home? Well, you can and without forking out a fortune and using simple ingredients which may be in a cupboard or drawer a few steps away! The process is simple and will leave you soaking in relaxation. Try our easy three-step bath bomb recipe and have yourself a spa day at home!
DRY INGREDIENTS
8 ounces baking soda
3-4 ounces of citric acid
4 ounces of corn starch
4 ounces salt (dead sea salt or mineral)
WET INGREDIENTS
0.75 tablespoons of water
2 teaspoons of your chosen essential or fragrance oil (safe for the body)
2.5 tablespoons of vegetable oil
1-2 drops of food colouring
The colour will look very dark in the emulsion but will be light in the bomb itself.
THE 4 STEP PROCESS
STEP ONE:
Put all the dry ingredients into a large mixing bowl, airing out any lumps which have been made in there ensuring a fairly smooth consistency is contained throughout the entire mixture. Blend the mixture well it is likely to separate as you will not get a full emulsion.
STEP TWO:
Whilst whisking/stirring gradually adding a teaspoon at a time of the liquid ingredients to your dry ingredients.
If the mixture starts to foam, you are adding the liquid too fast. If this has already happened, you can reverse it! Quickly whisk the reacting ingredients into the nonreactive part and you should be able to stop it.
When all of the wet ingredients have been added, you should have a mixture with the consistency of slightly damp sand which should clump together when you squish it.
STEP THREE:
The mixture is ready so you will have a limited amount of time in which to get them into the moulds. When in the moulds, you don’t need to leave them in for very long. You can tap them out as soon as you fill them. Use all kinds of things to mould your bath bombs. You can use cake tins, ice cube trays or something more themed as to the reason for this luxurious gift.
STEP FOUR:
Once your bath bombs are completely dry, it is advised to store them in an airtight container or bag as high humidity will make them activate. Because of the oil and water content with no preservatives, it is advised to use your newly made bath bombs within 6 months, assuming that you can resist that long! When you’re ready to use one, just drop it into a warm bath, and relax.
THE PERFECT GIFT!
Wrap them up nicely with tissue paper, ribbons and labels. Give to your family or friends as a gift! Make sure she uses the bath bombs within a few weeks; otherwise, they will lose their fizz.


